Common Buttons on Report Screens
Located on most of the report screens are dialog boxes that provide additional functionality.
These buttons are generally available within the report screen itself and will allow the user to either select a date range and give the ability to email or print a copy of the report.

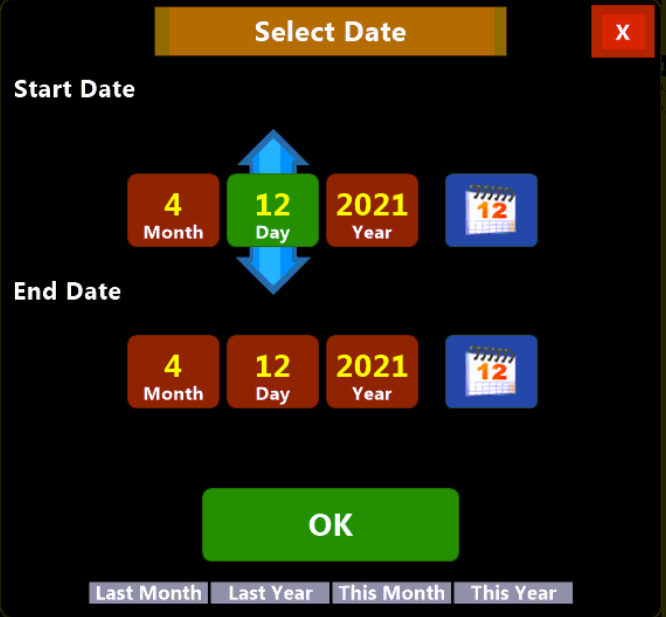
Date Button: Click the Date button to select a start and end Date for your report. This option is available for most reports, some reports will have slightly different date selection options.
Email Button: Click Email to export and email your report file in a format usable by third-party software applications to make the report more portable.
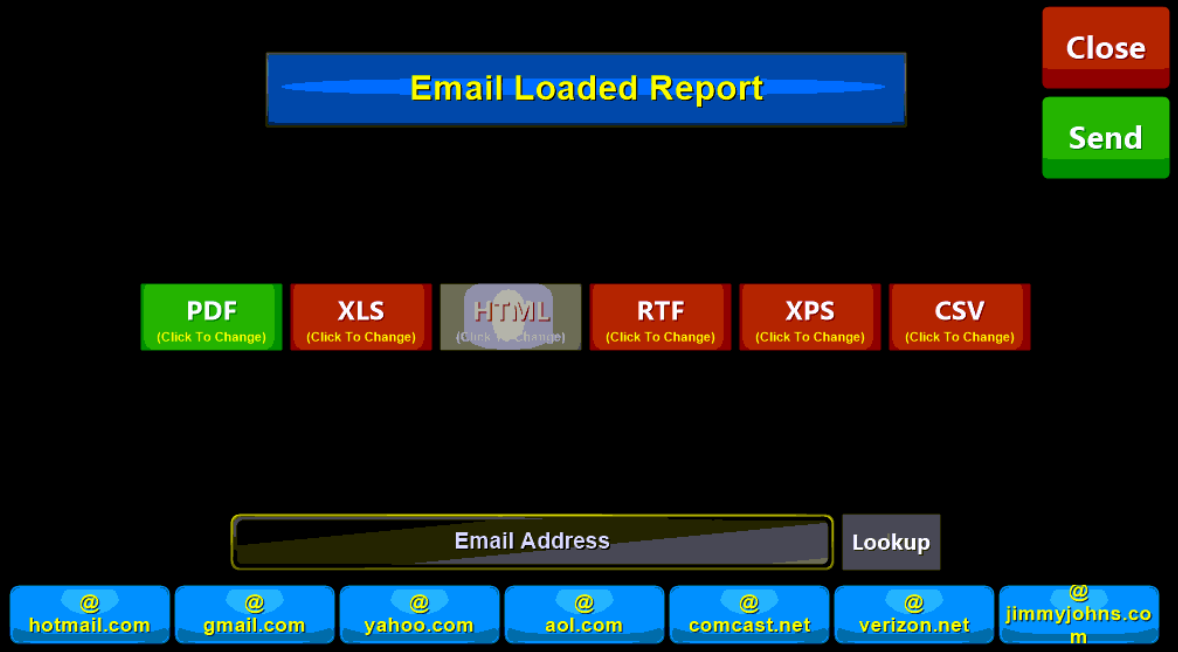
Depending on the export format this gives you the ability to search, sort, and filter data for a variety of uses with programs, such as Microsoft Excel. You may choose to manually enter an email address or choose from a number of saved addresses that are commonly used in your location.
Print Button: Click Print to print a report to the designated printer instead of just displaying it on the screen.
Cancel Button: Click the cancel button to exit the report and return to the report selection screen.

Zoom In \Out Buttons: located at the bottom of the Report preview screen these options allow you to either increase or decrease the size of the report. Increasing it for a better view or decreasing the size to fit more data on the screen.
Interactive Layout Button: Shows an on-screen preview of how the report will look when printed.
Fit Width \ Fit to Screen Buttons: Resets the zoom level of the report.