Guest Seating
The Guest Seating screen is the main interface for waitstaff:
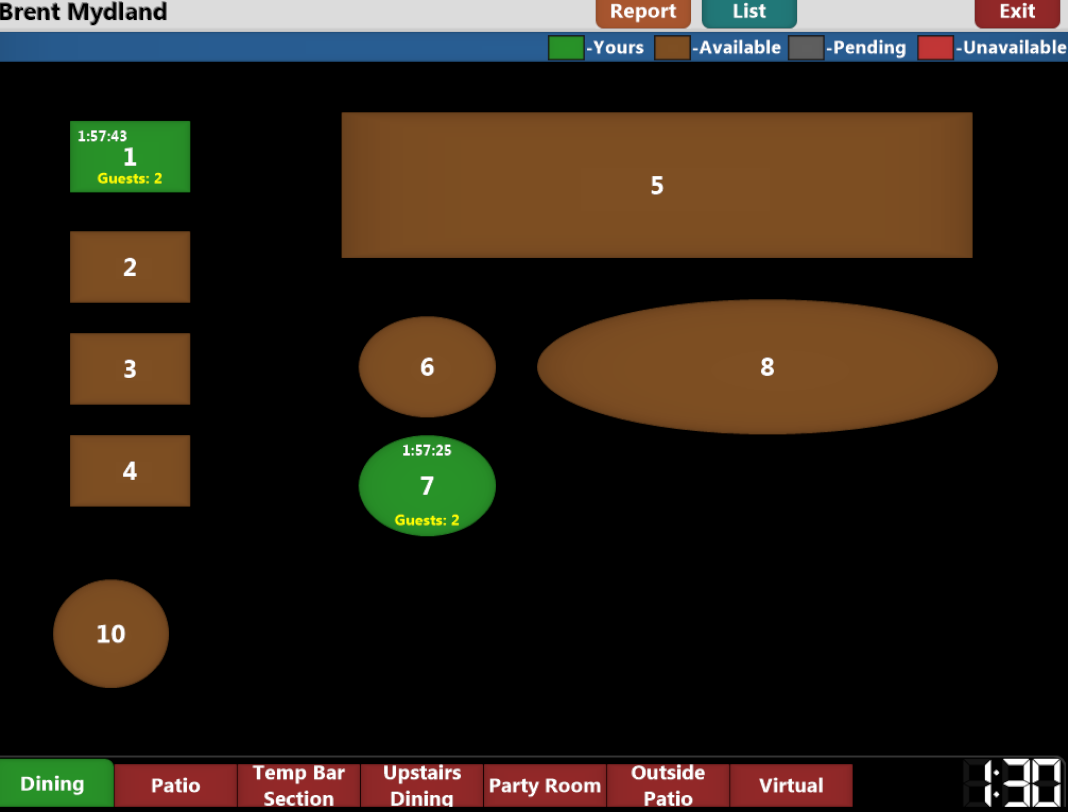
This screen allows guests to be seated and orders to be placed.
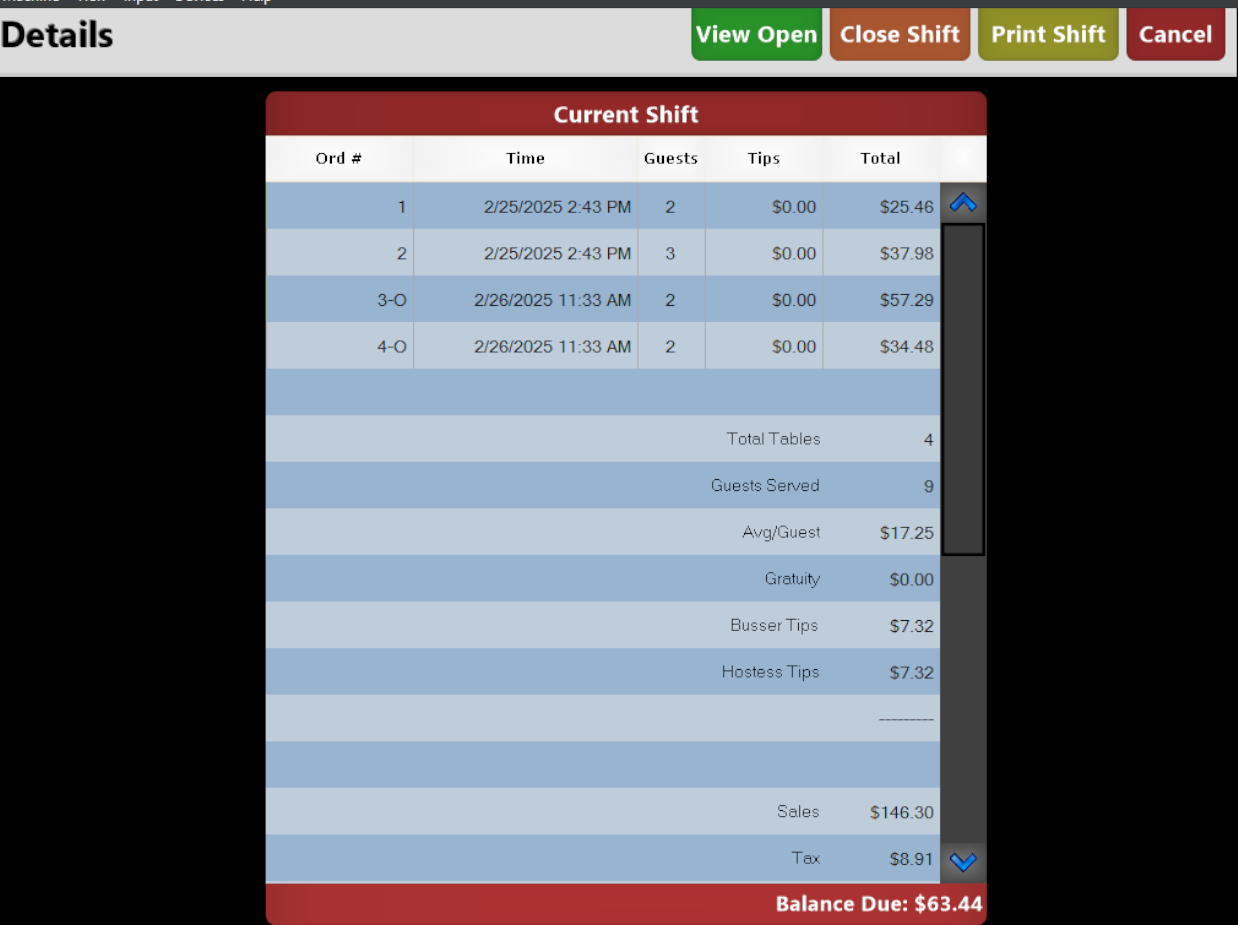
If the option is enabled you can use the  button to show the current cashier report for your open shift.
From the report screen you can view your open orders, close out your shift or print out the shift report.
The  button can be used to show a list of all of your tables from your current shift:
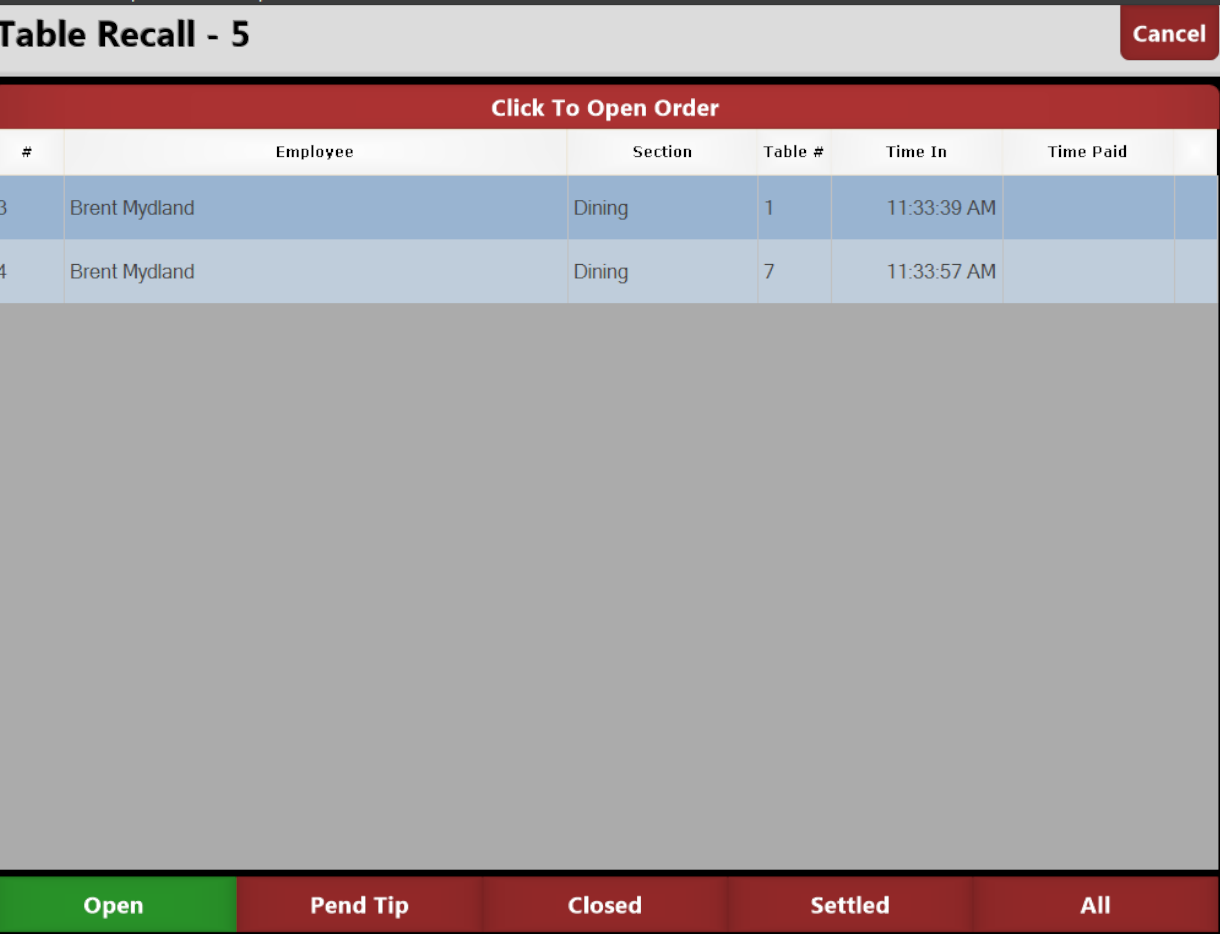
From this screen use the buttons along the bottom to filter the list to help you quickly find the ticket you are looking for.
The Report and List screens are not activated at all locations, check with your store management to determine if you have access to view and close your shift.
Across the top of the screen is a legend showing you how to identify the various statuses of the tables in the section being viewed:

- Green: are assigned to you
- Red: are assigned to other staff (will show name of server assigned)
- Brown: unassigned \ available
- Black: in process of being seated \ unavailable
all assigned tables show a counter in the upper left corner denoting how long the ticket has been open. This let's you scan your tables and tell at a glance where they are in the service queue.
Use the buttons along the bottom of the screen to change to different sections of your restaurant:

These sections are configured in the Table Settings screen except for the Virtual Section.
The Virtual Section is a special section that allows you to create new tables 'On the Fly' for To Go orders. These tables will be numbered sequentially and allow you to take to-go orders without tying up an actual table on your table map.

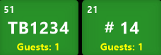
Under the 'Virtual' tab you can add a new temporary virtual table by selecting the New Table button. Depending on your site's settings you may be prompted to input a name for the virtual table. If nothing is entered, it will default to showing the Order Number as the Virtual Table’s information.
Assign a Table:
If your site allows for Shared Tables you will receive a prompt asking if this table will be shared:
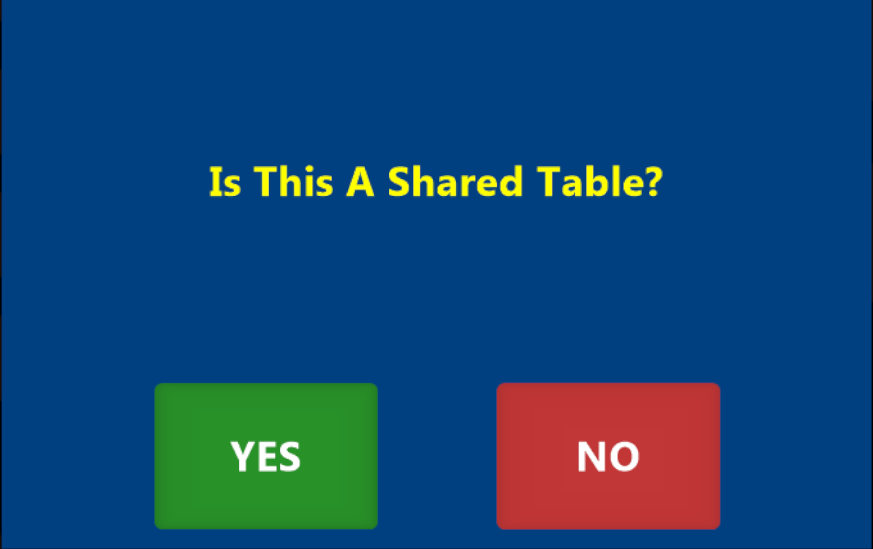
If you select Yes that this is a shared table you will be presented with a screen to assign all of the servers to this table. This is useful for large parties as it let's each assigned server treat the table as if it is their own.
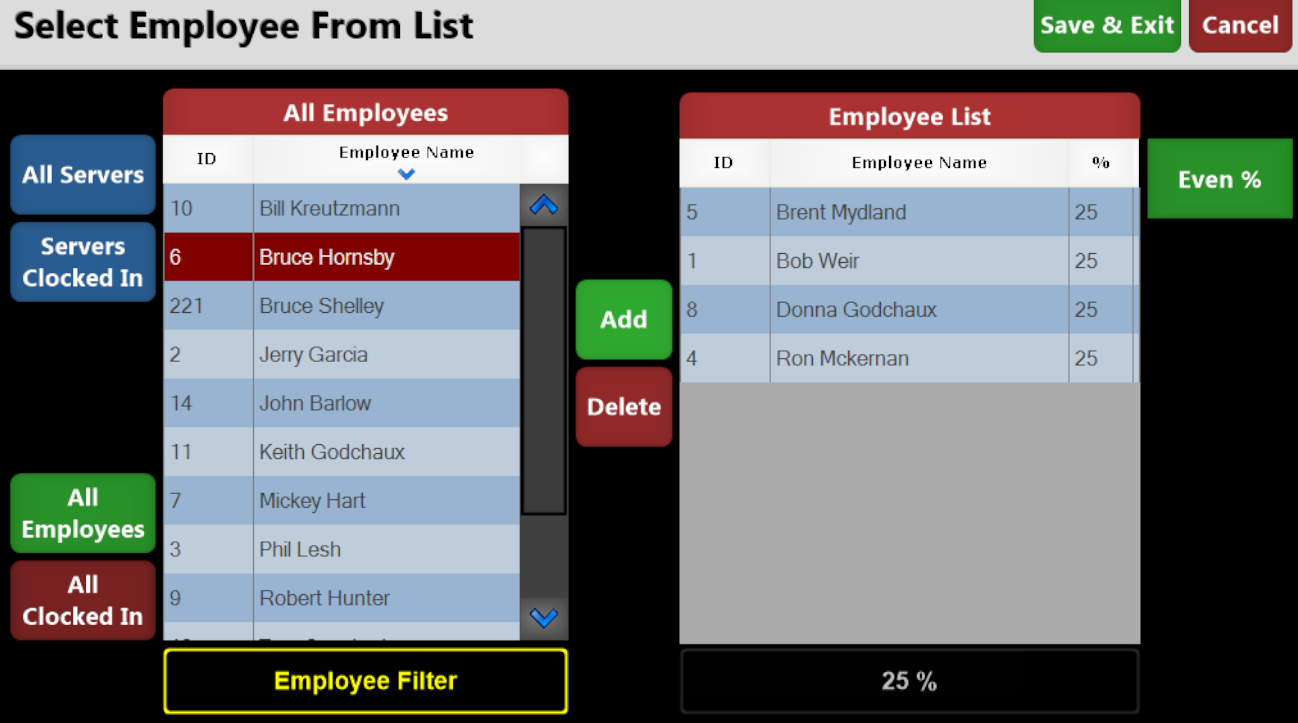
Assigned employees can either share the tip equally by using the  button. If you unselect the 'Even %' option you will be able to assign a percentage to each server. The total tip assigned must equal 100% if you are not using the 'Even %' option. Tips for shared tables will be shown on the individual server's shift close report.
You may also be prompted to confirm the guest number:
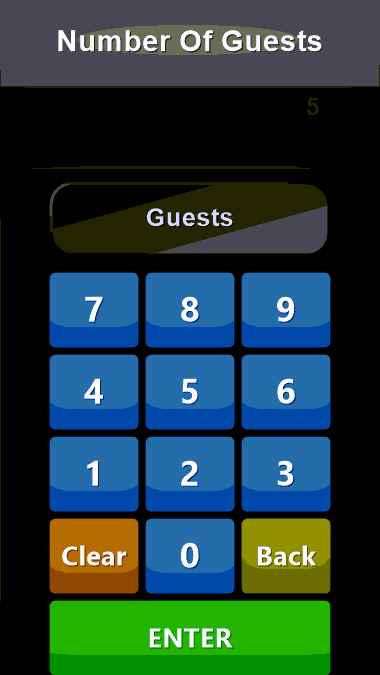
The number of guests can be changed in the Table Manager if entered incorrectly or if the number changes. or by using the  button located on the main ordering screen.
Once you have selected the items choose the  button to send the order to the kitchen.
When placing an order if you ever need to change the quantity of items ordered simply select the item in the order pad to bring up the Select Edit Mode screen which will allow you to edit your items:
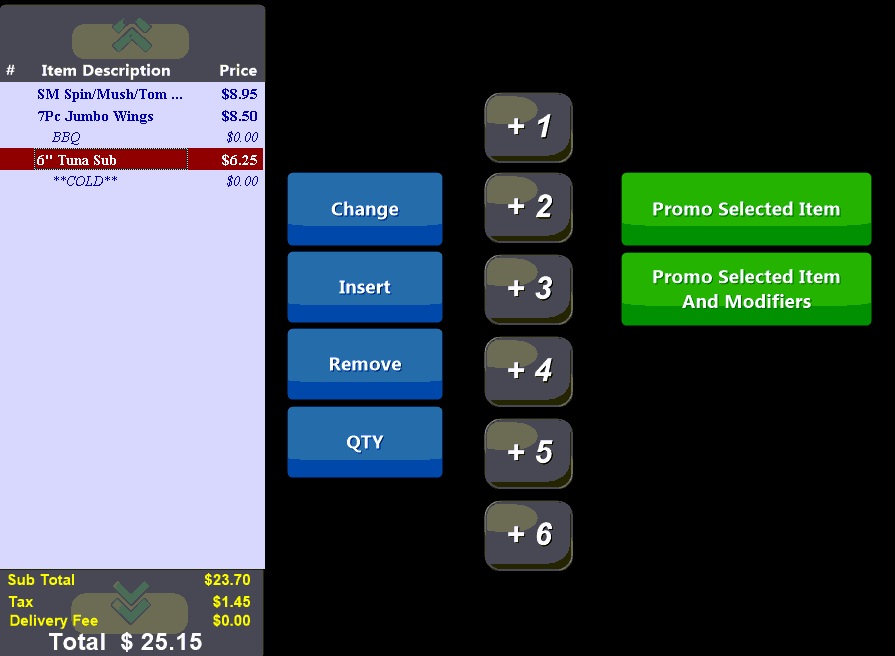
Change: replace the item with another menu item
Insert: add a new menu item
Remove: delete the menu item
QTY: set the quantity of the menu item
Using the 'speed' buttons allow you to quickly add the set number of items. Select the item from the order pad and press the corresponding amount key.
Use the Promo buttons to promo individual items and\or their modifiers:

If there are any special instructions (for which there is no menu button) select the Special Instructions button. You will be prompted to enter a description of the special instruction and any associated charge. For instance, you may have a request to cut a pizza into squares for which you charge an additional .25 cents. To discount an item through a special instruction enter a negative amount.
As items are ordered they will be placed in the Order Pad window located along the left side of the screen:
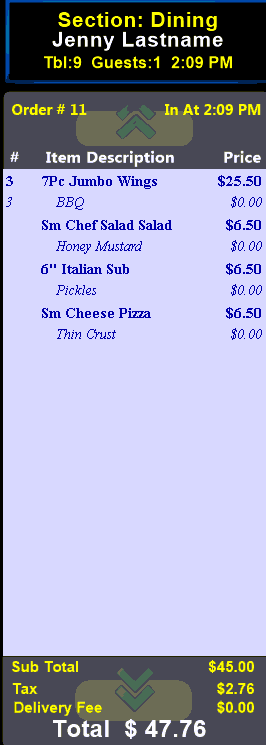
Along the top of the Order Pad you will the Section name, name of the Server, Table Number and Number of Guests as well as the Time the order was opened.

If you make a mistake and need to back out of an item once selected you can press the 'Oops' button in the lower right hand corner of the screen. The 'Oops' button will erase the last item that was ordered from the order pad. It is possible to select this button and back completely out of an but doing so will keep the order open and affect speed of service times.
Instead if you need to cancel an order completely prior to accepting payment and sending it to the VDUs and printers simply select the  button and confirm you wish to cancel.
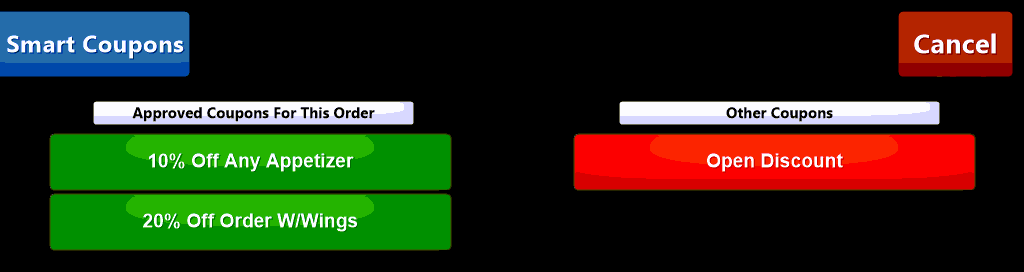
The  button allows you to apply any coupons to the order:
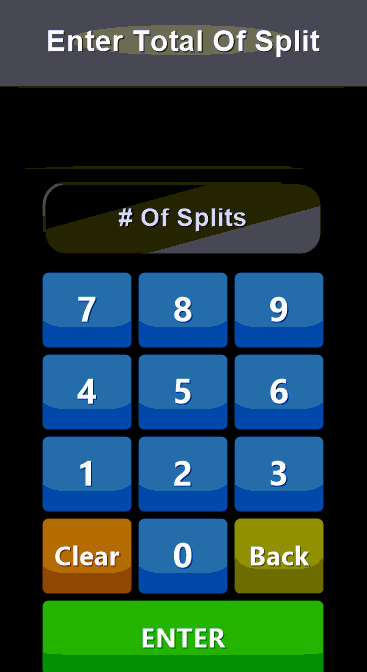
 Orders can be split between individual seats. This allows you to ring up one large order with individual totals that can be paid separately. To split a ticket among seats choose the 'Sep Seats' button and enter the number of splits. In order to split a ticket you must have more than one guest and you cannot create more splits than the number of guests.
Use the 'Sep Seats' window to separate your order into sub-totals that can be paid separately:
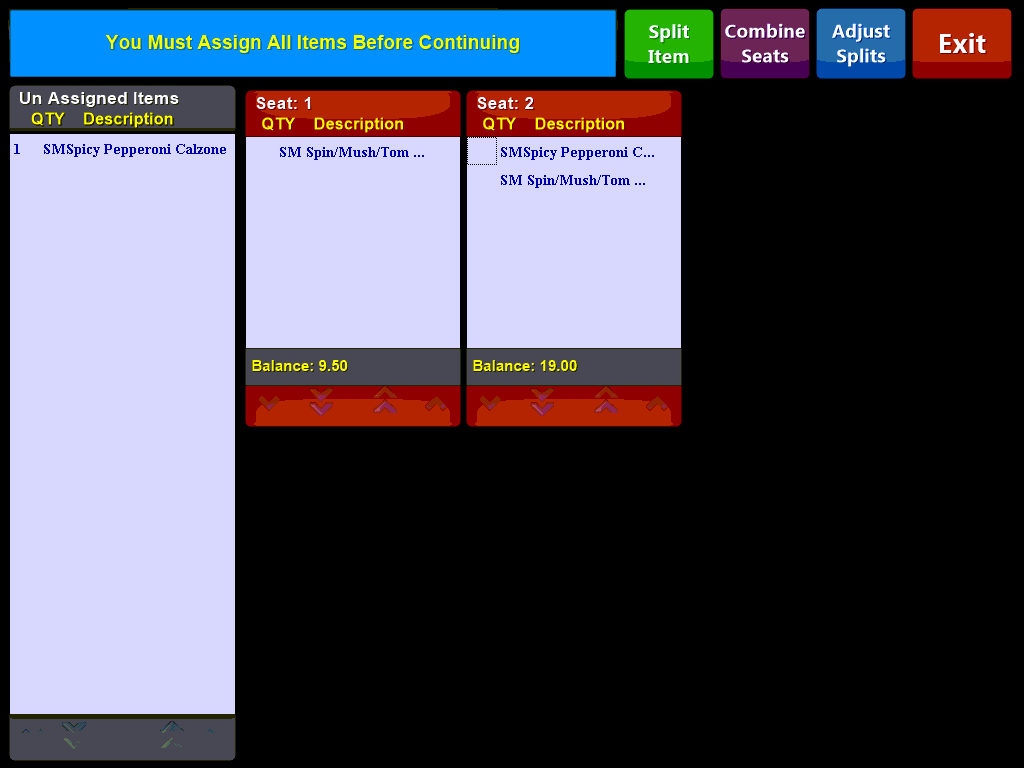
Choose an unassigned item from the left-hand column and then select the Seat to assign it to.
You can also choose an item already assigned to a seat and move it to a different seat. To move an item between seats select the item to highlight it and then select the seat to move it to.
You must assign all items to seats before you can exit this screen, you cannot leave any item unassigned.
To change the number of Splits after you have left this screen select the  button and enter the new split quantity.
To Combine seats select the  button and choose which seats to combine:
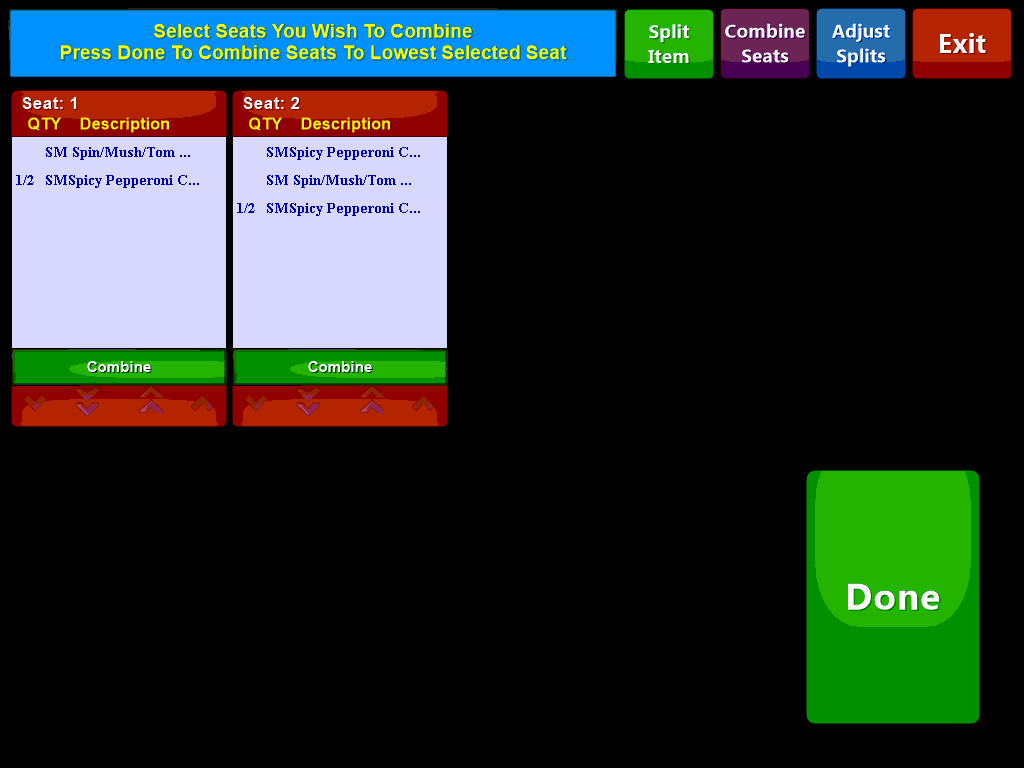
Select the seats to combine and press the 'DONE' button.
In addition to splitting items between separate seats you can further sub-divide individual items among seats. The Split Item button let's you take a single item and split it among your separate seats splitting the cost of the item equally among the seats.
Select the Item you wish to split and then press the  button. This will bring up the split item window:
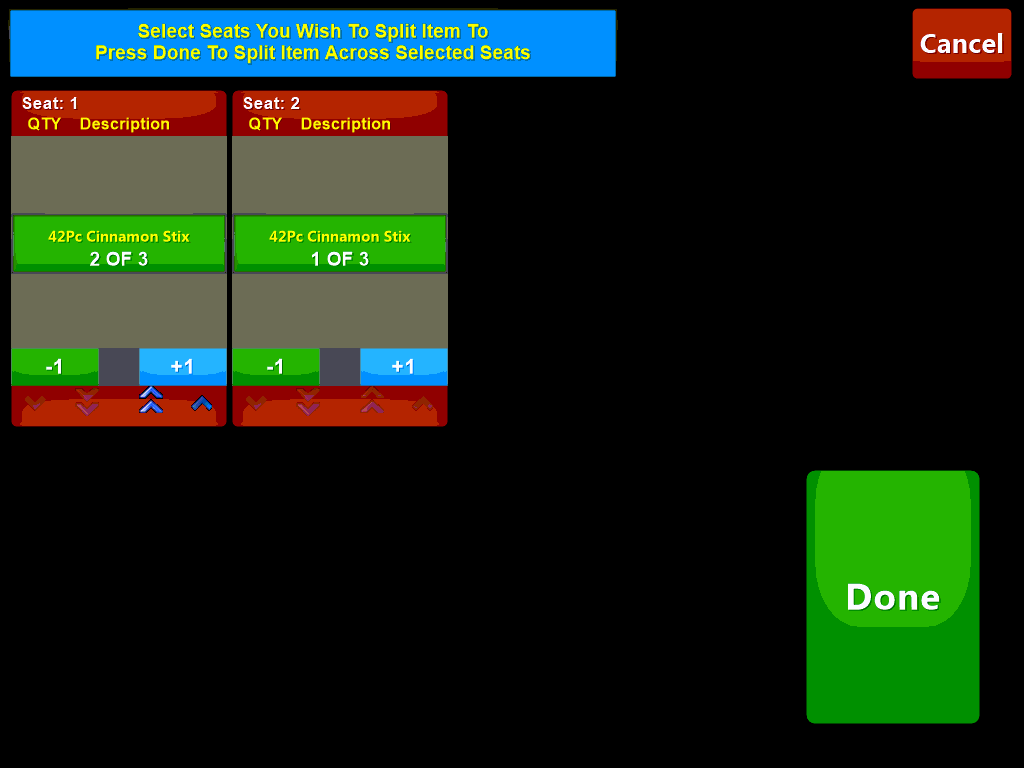
Choose the Add Item button on the check to split the item to that check. Use the -1 and +1 buttons to increase or decrease the portions of the split per check. You can split items unevenly across checks. For example: check 1 could have 2/3 of an item and check 2 would have the remaining 1/3.
 - once all split adjustments have been made choose the Send button the send the order for processing.