Phone Orders
Phone orders can be integrated directly into the PDQ POS system allowing you to not only see caller information directly on screen but also to initiate an order using the caller's information.
On the Main Order screen select the Phone button in the top left of the screen to bring up the phone call interface:

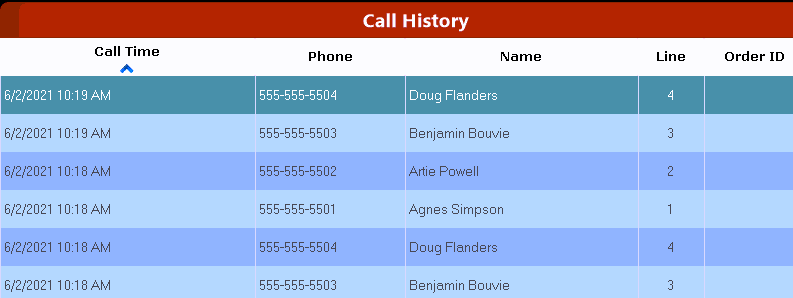
This button opens separate screens depending on how it is accessed. Pressing and holding the button will open a Caller ID history screen that shows you all calls that were routed through the POS and any associated orders that were placed. This list can be filtered by either phone number or name of the caller by pressing the  button:
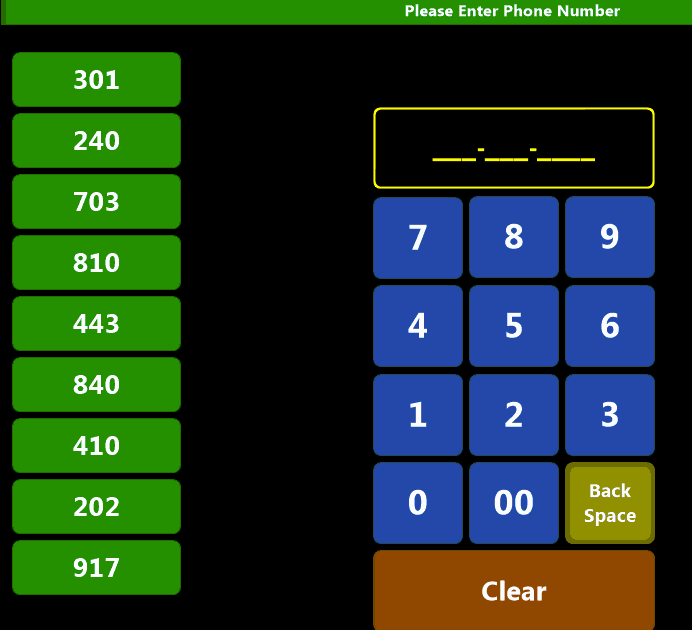
A quick press and release will bring up the manual input screen allowing you to manually enter a phone number. Enter a number (including area code) and the system will search for matching customer records. If a record is found, you will be prompted to confirm. If a record is not found, you will prompted to input a new customer record.
If multiple addresses are located for a phone number you will be prompted to choose which one to use:
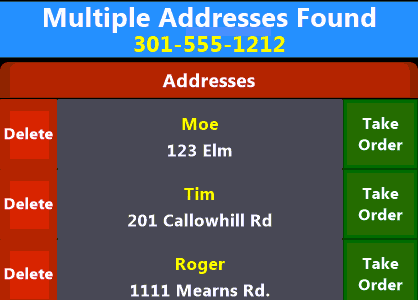
From this screen you can:
- Input a new address
- Delete the record
- Edit the record (select name and address)
- Go directly to the order screen using the customer record
If no record is found associated with a phone number you will be prompted to create a new customer record.
Enter the requested contact information for the customer and any delivery instructions or additional comments. Comments will show on the customer screen and can be used to enter brief notes about the customer:
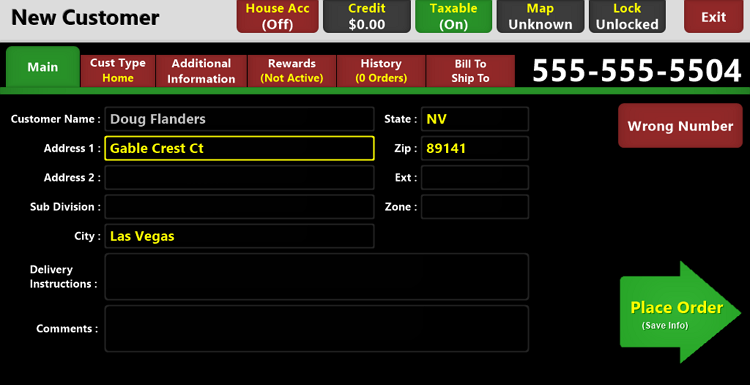
The buttons along the top of the screen allow you to set billable information about the customer:
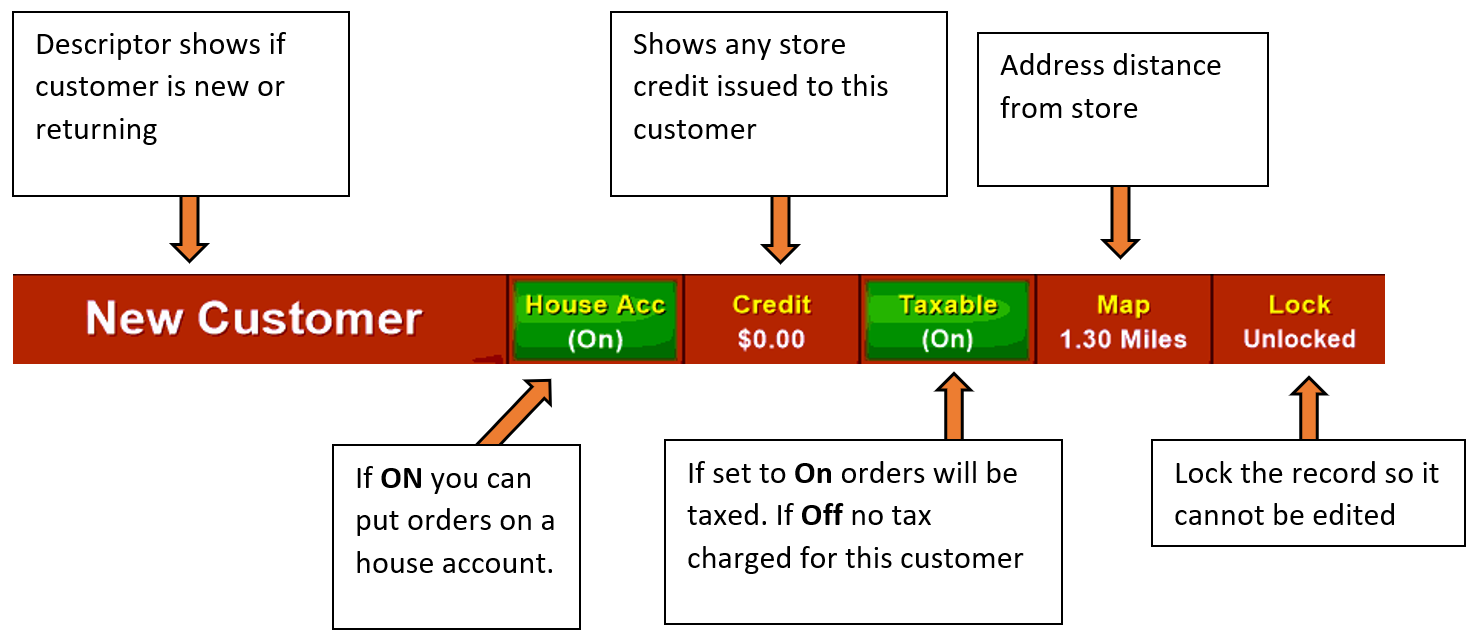
The buttons along the side of the screen contain additional customer information.
Cust Type:
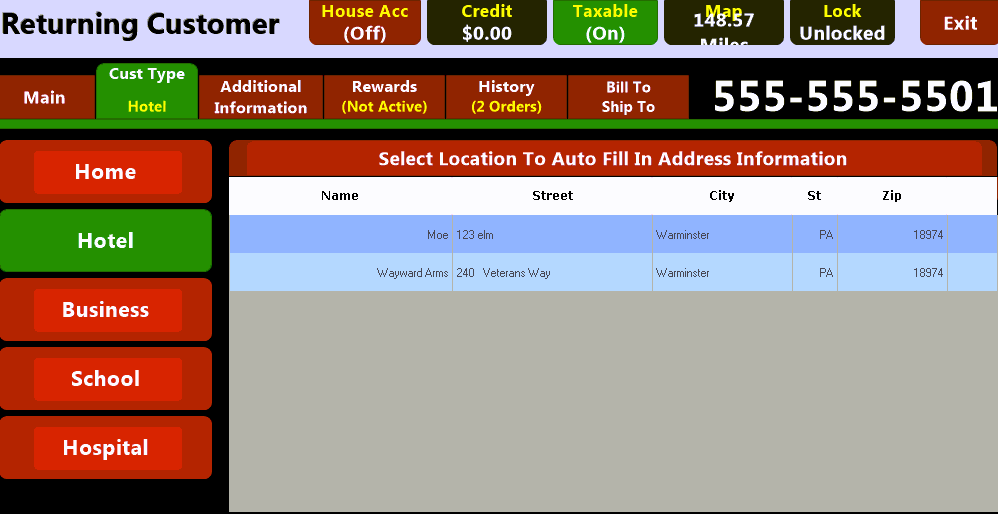
The Cust Type screen allows you to select the address type for the customer record. Choose from the listed tabs and either select an existing location from the list or simply change screens to associate the record as the required Customer Type:
The  button will bring up a listing of all associated address, phone numbers and email address for the customer. From here you can add additional information using the buttons along the top of the screen or edit the existing records:

The  button allows you to add the current customer to your rewards program. ‘Rewards’ is an optional service that can be enabled at your location. Contact us to see about getting this feature enabled.
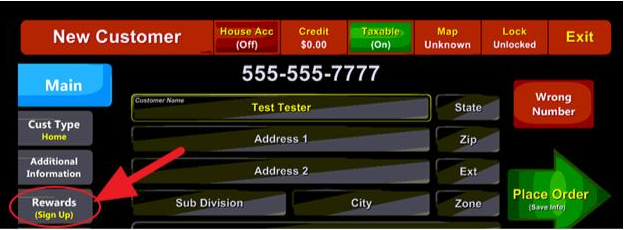
Once you have created an account you can look up the customer's point information or add additional points to their account. Additionally, you can add new members directly from the summary screen as well:
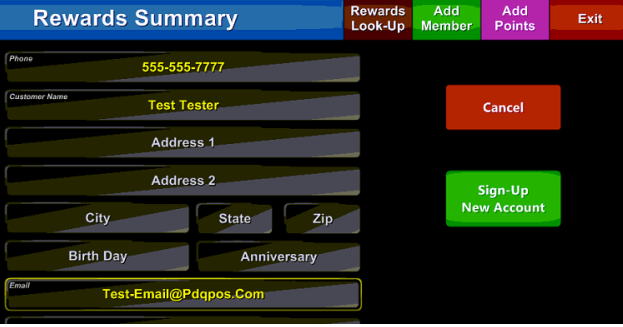
From the main customer screen you can view the customer's order history by selecting the  button:
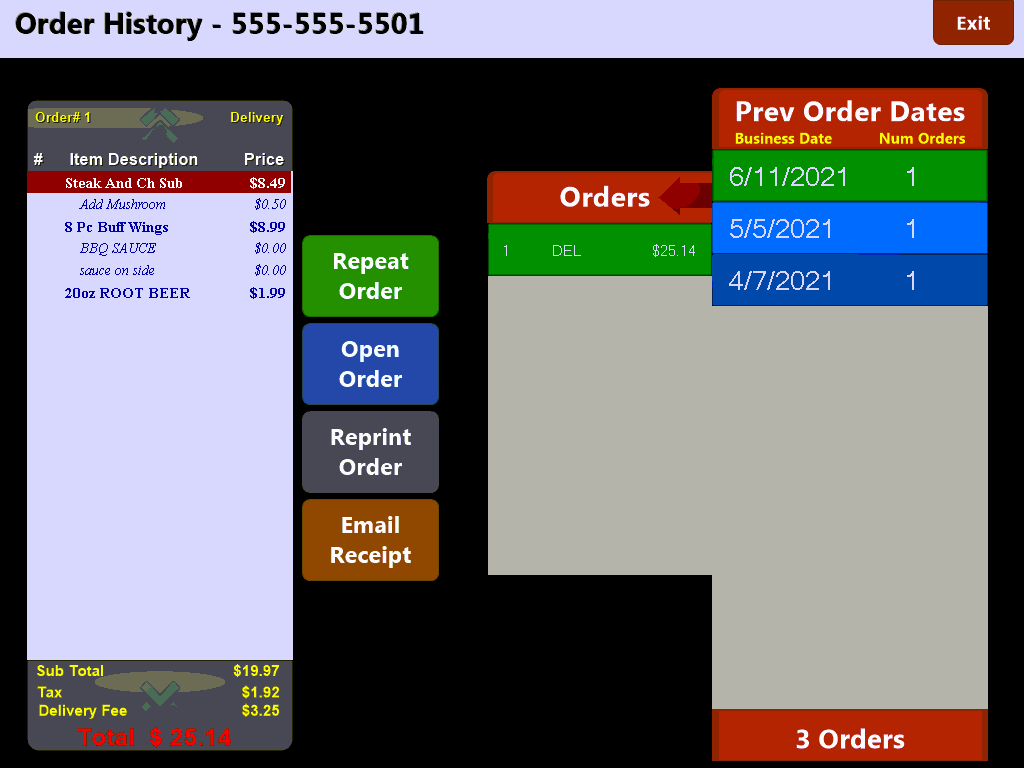
From this screen you can view historical orders, repeat orders, open an order for editing, reprint receipts or email receipts to the customer.
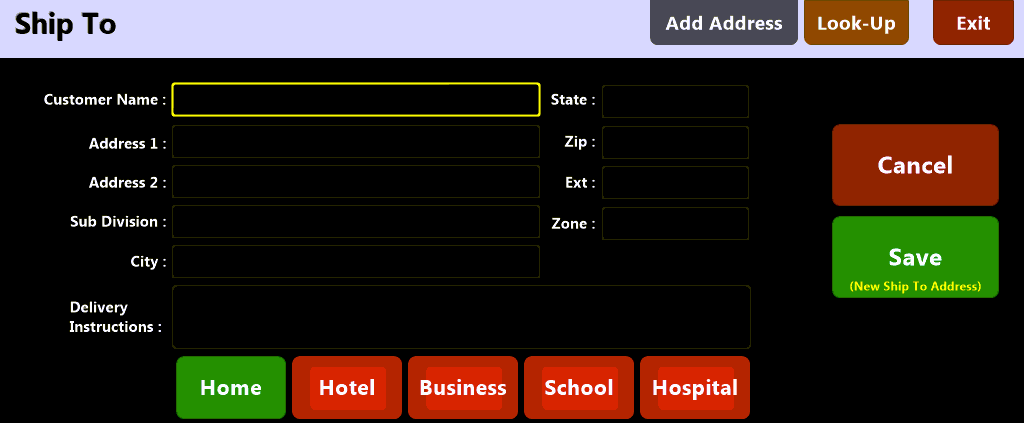
Accessing the  screen will give you the ability to change the billing address for any associated house accounts. In this way you can have a delivery address for individual orders and a billing\shipping address for the main account: