Staff Manager
The Staff Manager screen allows you to not only view your employees contact information but also add new employees and configure every aspect of their access to system resources.
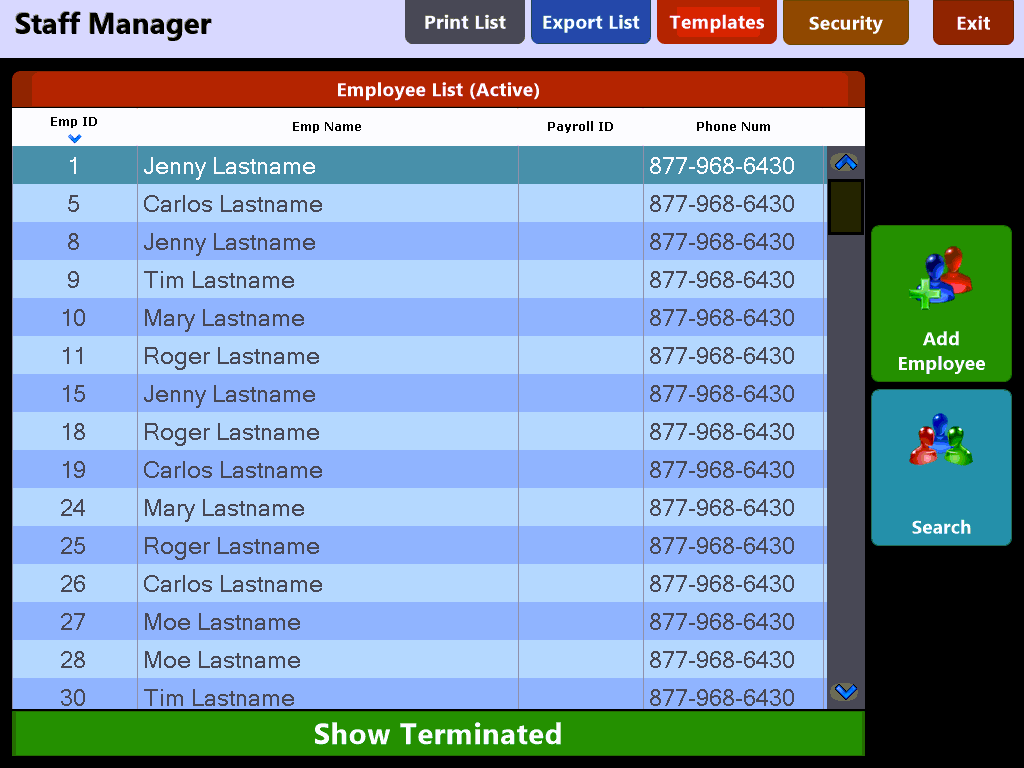
With the buttons along the top of the screen you can print the employee list  or export
  for use in external programs.
Selecting  button brings you to the user template settings screen. A template is a set of permissions that can be assigned to one or more user. The settings in a template define what actions users can perform and what information they can view.
Templates are base settings that can further be defined for individual employees if desired.
Template screen:
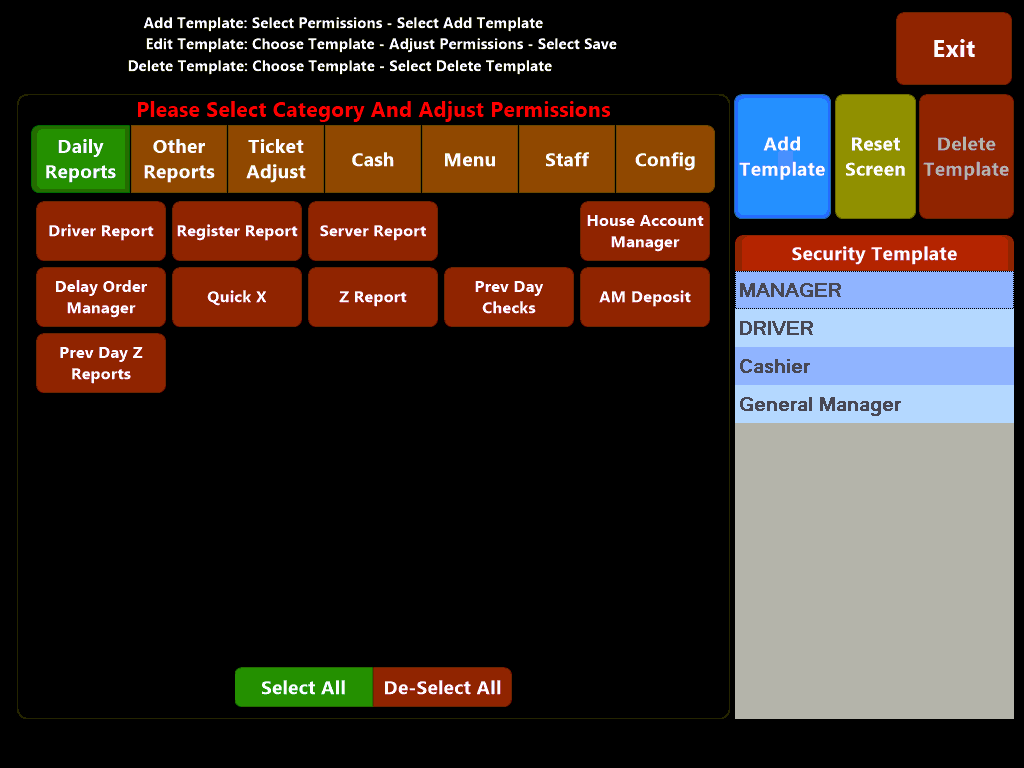
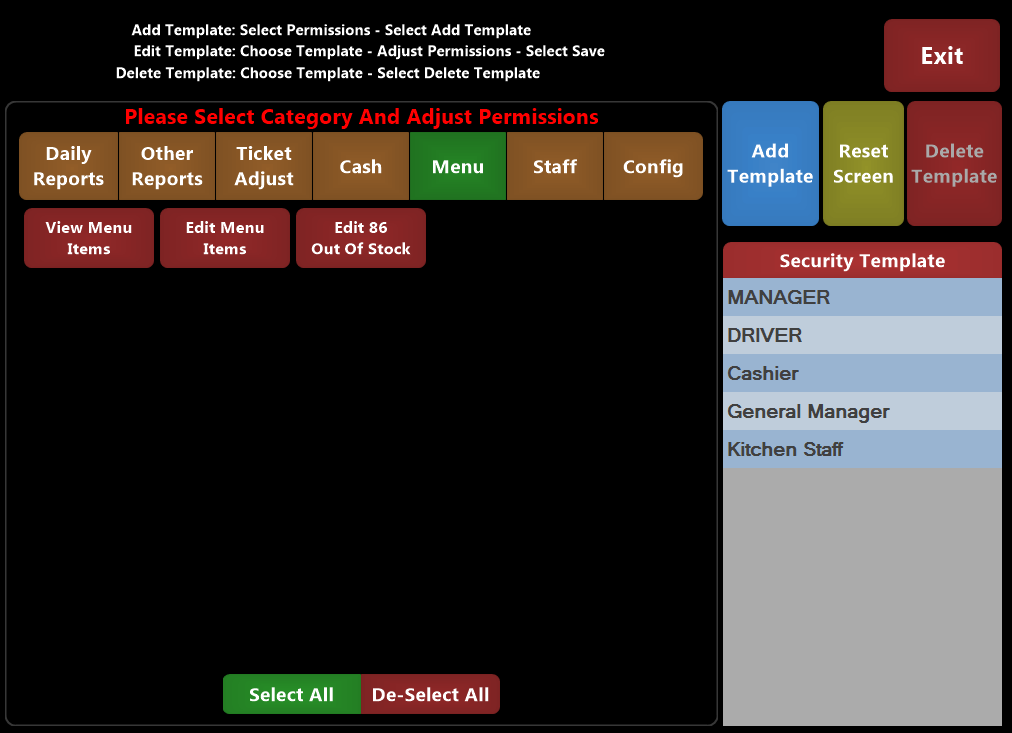
To add a new template for use, select the  button and assign a name to it that will be easy to remember when assigning the template to users.
Once your new template has been given a name it will appear in the list of available templates for editing:
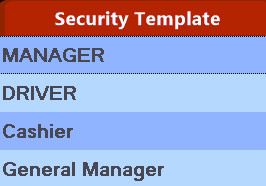
You can now choose from the category tabs and adjust the default permissions for the selected template:

From the Category Tabs you can select to allow or prohibit:
- Individual daily reports (Manager Screen > Daily Tab)
- General (other) reports (Manager Screen > Reports Tab)
- Ticket adjustments
- Cash Handling
- Menu Edits
- Staff changes
- Configuration options
These buttons  located at the bottom of each Category Tab will either select or deselect all of the options for that tab.
To reset a template to default simply choose the  button to clear out all template settings.

NOTE: The Reset Screen button will clear the selections from ALL category screens and should only be used with caution.
If a template is no longer in use select the  button to remove it from the system.
Note: Deleting a template does not remove individual employee permissions. All employees who have this template assigned will retain their permissions
Once you have setup any templates you want you can assign them to individual employees using the  button on the main Staff Manager screen.
Security Screen:

The Security Screen permits you to cycle through your employees and either assign individual permissions to them or use one of your templates as a base from which to edit.
When setting Menu Permissions the 'Edit Menu Item' permission will automatically select the 'View Menu Items' and 'Edit 86 Out Of Stock', this is by design.
You can cycle through individual employees using the  and
and  buttons located at the top of the screen.
To add a New employee use the  button on the main Staff Manager screen. This button will bring up a blank employee screen that can then be configured. This screen is the same as if you are editing an employee by selecting their name from the list of available employees:
Employee Detail Screen:
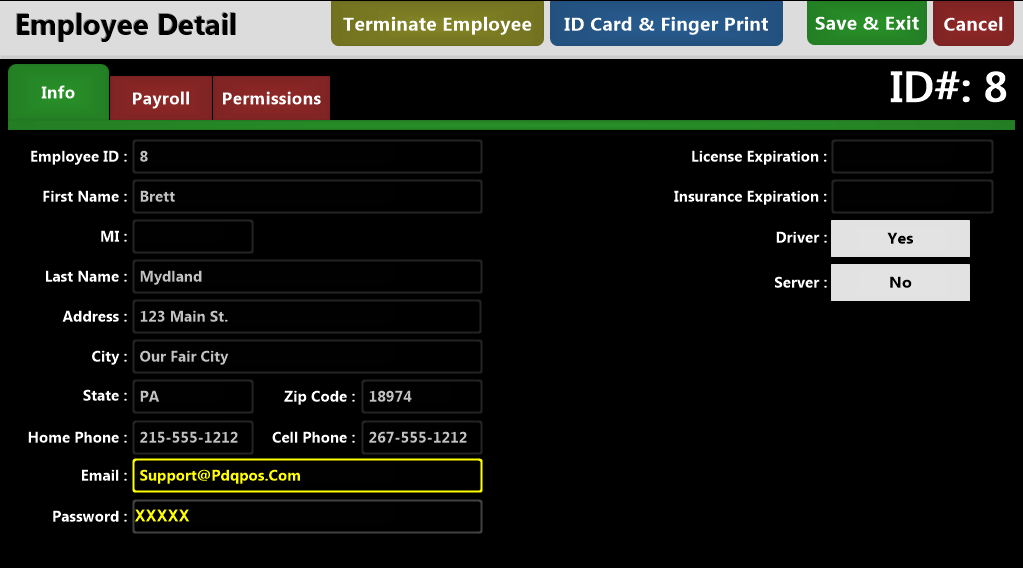
Regardless if you are adding a new employee or editing an existing one you will see the Employee Detail screen. This screen allows you to edit the employee specific information for the selected employee.
On the  screen enter the employee's name and address and contact information as well as a password they can use to access the POS.
This screen additionally allows you to enter an expiration date for the employee's driver's license and vehicle insurance if they have a job of 'driver' assigned. Depending on the settings in the Job Code Setup screen employees can be blocked from clocking in if either of these are expired.
The fields 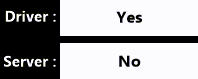 are not directly editable and instead are set on the 'Payroll' screen by selection of a 'driver' or 'server' job type.
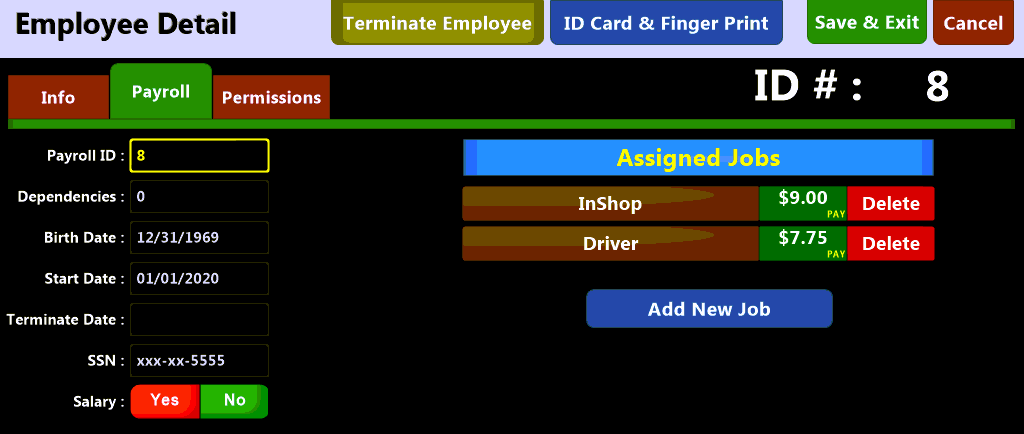
Accessing the  screen allows you to set payroll data that can be exported for use in third party payroll programs. This data includes:
Select the  button to choose one of the jobs that were set up under the Job Code Setup screen. Employees can have multiple 'jobs' within the store that each can have a separate pay rate. Employees with multiple jobs will be able to select which one they are clocking in for.
The selection of a job that has 'is server' or 'is driver' setup will set the server and driver flag on the Info screen.
The  tab gives you another way to access the permissions for the employee and is identical to the screen discussed earlier in this topic. Select the individual permissions or use a Security Template to quickly grant permissions.
Selecting the  button along the top of the screen will remove all permissions for the employee and set them as terminated. They will not be removed from the system allowing you to re-activate them at a later time if the need arises.
Once terminated the button will change to  . Activating an employee does not reset permissions so you will need to manually set them up or use a template.
Use the  button to setup alternate means for the employee to access the system such as with a serialized swipe card or fingerprint. The use of a swipe card requires an attached card reader, the use of fingerprint access requires an attached bio-metric reader. Contact sales to to obtain an optional fingerprint reader.