Time Clock Manager
Make sure your employees receive their proper pay with the time-clock manager. Let's face it, people forget to clock out or clock in using the wrong job code. This can lead to underpaying or overpaying and making a mess of your payroll. Use the Time Clock Manager to fix issues with punches and ensure accuracy.
Using the buttons along the top you can choose to edit historical punches by using the  button and choosing the date you wish to edit.
You can also use the  button to change the way the employees names are listed on the screen, toggles the format to last name first.
When you have completed all of your edits use the  button to save and close the screen or press
  to revert any unsaved changes and exit the screen.

Using the orange buttons located just above the employee list you can choose how to order the report by selecting any of column headers:
- Bus Date
- ID
- Emp Name
- Emp Job
- Pay
- Time IN
- Time OUT

To edit a time punch choose an existing time entry from the list presented and press  or choose the
  button located along the bottom of the screen.
If enabled you may be prompted to Authorize your punches to verify authenticity. To authorize your employees punches choose the  button to toggle authorization.
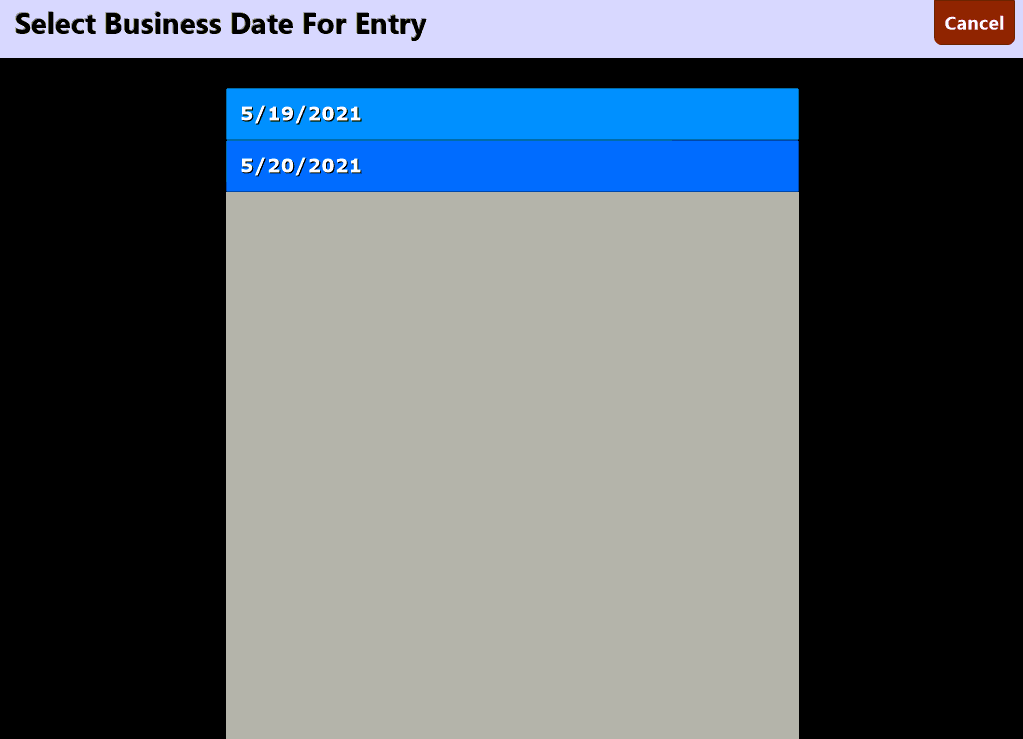
If you have chosen a date range by pressing the button you will by prompted to choose a business date when adding a new time entry:
On the Add New\Edit screen you can change most aspects of the selected time entry:
- Employee Info (new entries only, not historical edits)
- Selected Job
- Pay rate
- Time and Date in
- Time and Date out
- Delete the punch group (in and out punches)
